Adaptive inline banner
An adaptive inline banner is a flexible banner ad format that ensures maximum efficiency by optimizing ad size for each device.
With this ad type, developers can set the maximum allowable ad width and height, and the system determines the optimal ad size automatically. To choose the best ad size, adaptive inline banners use a maximum height instead of a fixed one. This helps improve performance.
Typically, this format is used in feed-based apps or contexts where it's acceptable to primarily focus user attention on ads.
Appearance
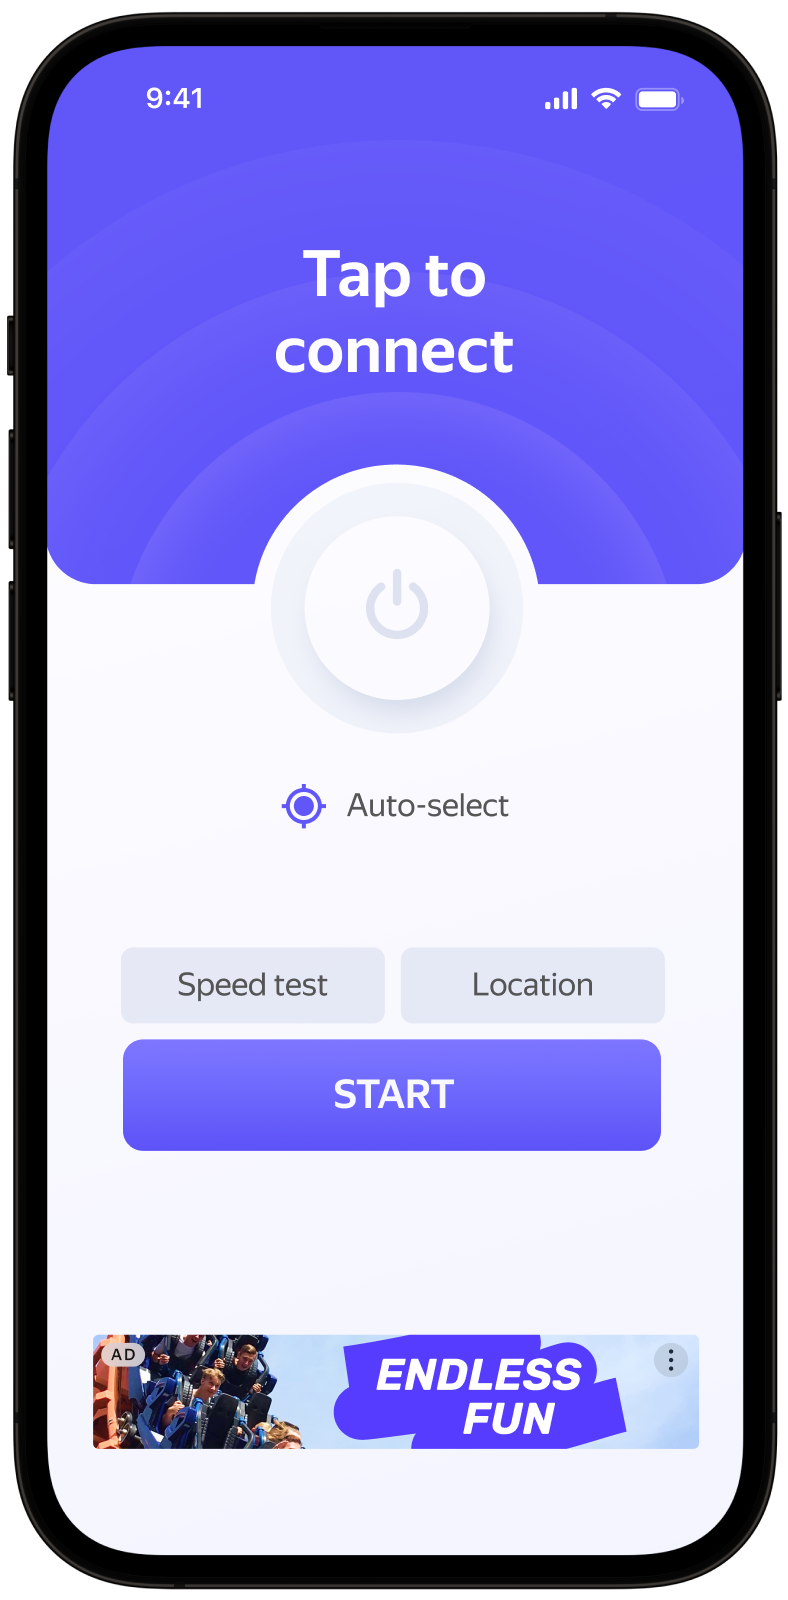
This guide covers the process of integrating adaptive inline banners into React Native apps. Besides code samples and instructions, it also contains format-specific recommendations and links to additional resources.
Prerequisite
- Follow the Yandex Mobile Ads React Native plugin integration steps described under Quick start.
- Make sure that you have the latest version of the Yandex Mobile Ads React Native plugin. If you're using mediation, update to the most recent single build version.
Implementation
Key steps to integrate an adaptive inline banner:
- Get the banner size.
- Set up the parameters for loading ads using an
AdRequestParamsobject. - Display the ad by setting the required properties and callback functions to handle events within the ad lifecycle.
Specifics of adaptive inline banner integration
-
We strongly discourage attempting to load a new ad when receiving an error in the
onAdFailedToLoadcallback. If you need to load an ad fromonAdFailedToLoad, limit retry attempts to avoid recurring failed ad requests in case of network connection constraints. -
For adaptive inline banners to work properly, make your app layouts adaptive. Otherwise, your ads might render incorrectly.
-
Adaptive inline banners work best when utilizing the full available width. In most cases, this will be the full width of the device screen. Be sure to consider the padding parameters set in your app and the display's safe area.
-
Adaptive inline banners are designed to be placed in scrollable content. Their height can be the same as the device screen or limited by the maximum height, depending on the API.
-
To get the size of the ad, use the method
BannerAdSize.inlineSize(width, maxHeight), which accepts the available width of the ad container and the maximum acceptable ad height as arguments. -
The ad width and height values contained within a
BannerAdSizeobject that was calculated using theBannerAdSize.inlineSize(width, maxHeight)method are consistent across the same device. When testing your app's layout on a specific device, you can be sure that the ad size for that device will remain the same.
Getting the banner size
To get the size of the ad, use the method BannerAdSize.inlineSize(width, maxHeight), which accepts the available width of the ad container and the maximum acceptable ad height as arguments. Be sure to consider the padding parameters set in your app and the display's safe area:
let adSize = await BannerAdSize.inlineSize(Dimensions.get('window').width, bannerMaxHeight);
Ad display
To load an ad, you need the size calculated using the BannerAdSize.inlineSize(width, maxHeight) method as well as the placement ID that you obtained in the Boost (adUnitId).
To enable notifications when ads load or fail to load and track an adaptive inline banner's lifecycle events, set callback functions for the BannerView component.
You can also pass an AdRequestParams object to the adRequest property of the BannerView component to customize your request parameters.
The example below shows how to set the adaptive inline banner properties and the callback functions for handling its lifecycle events. Once loaded, the banner is displayed automatically:
const createBanner = async () => {
    let adSize = await BannerAdSize.inlineSize(Dimensions.get('window').width, bannerMaxHeight);

    return (
        <BannerView
            size={adSize}
            adRequest={{
                adUnitId: 'R-M-XXXXXX-Y', // for debug you can use 'demo-banner-yandex'
                targeting: {
                    age: '20',
                    contextQuery: 'context-query',
                    contextTags: ['context-tag'],
                    gender: Gender.Male,
                    location: new Location(55.734202, 37.588063),
                },
            }}
            onAdLoaded={(event) => console.log(`Did load, adInfo: ${JSON.stringify(event.nativeEvent.adInfo)}`)}
            onAdFailedToLoad={(event: any) => console.log(`Did fail to load with error: ${JSON.stringify(event.nativeEvent)}`)}
            onAdClicked={() => console.log('Did click')}
            onAdImpression={(event: any) => console.log(`Did track impression: ${JSON.stringify(event.nativeEvent.impressionData)}`)}
        />
    );
}
Testing adaptive inline banner integration
Using demo ad units for ad testing
Use test ads to check your adaptive inline banner integration and the app itself. To make sure that test ads are returned for each ad request, you can use a special demo ad placement ID.
Demo adUnitId: demo-banner-yandex.
Warning
Before publishing your app in the store, make sure to replace the demo placement ID with the real ID you obtained in the Boost interface.
For the list of all available demo ad placement IDs, see Demo ad units for testing.
Testing ad integration
You can check if your adaptive inline banners are integrated correctly using the SDK's built-in analyzer. A detailed report with the test results will appear in the log.
To view the report, search for the keyword “YandexAds” in Logcat, a tool for debugging Android apps.
adb logcat -v brief '*:S YandexAds'
If the integration is successful, the following message is returned:
adb logcat -v brief '*:S YandexAds'
mobileads$ adb logcat -v brief '*:S YandexAds'
I/YandexAds(13719): [Integration] Ad type banner was integrated successfully
If there are any banner integration issues, you'll get a detailed issue report and troubleshooting recommendations.
Using demo ad units for ad testing
Use test ads to check your ad integration and the app itself. To make sure that test ads are returned for each ad request, you can use a special demo ad placement ID.
Demo adUnitId: demo-banner-yandex.
Warning
Before publishing your app in the store, make sure to replace the demo placement ID with the real ID you obtained in the Boost interface.
For the list of all available demo ad placement IDs, see Demo ad units for testing.
Testing ad integration
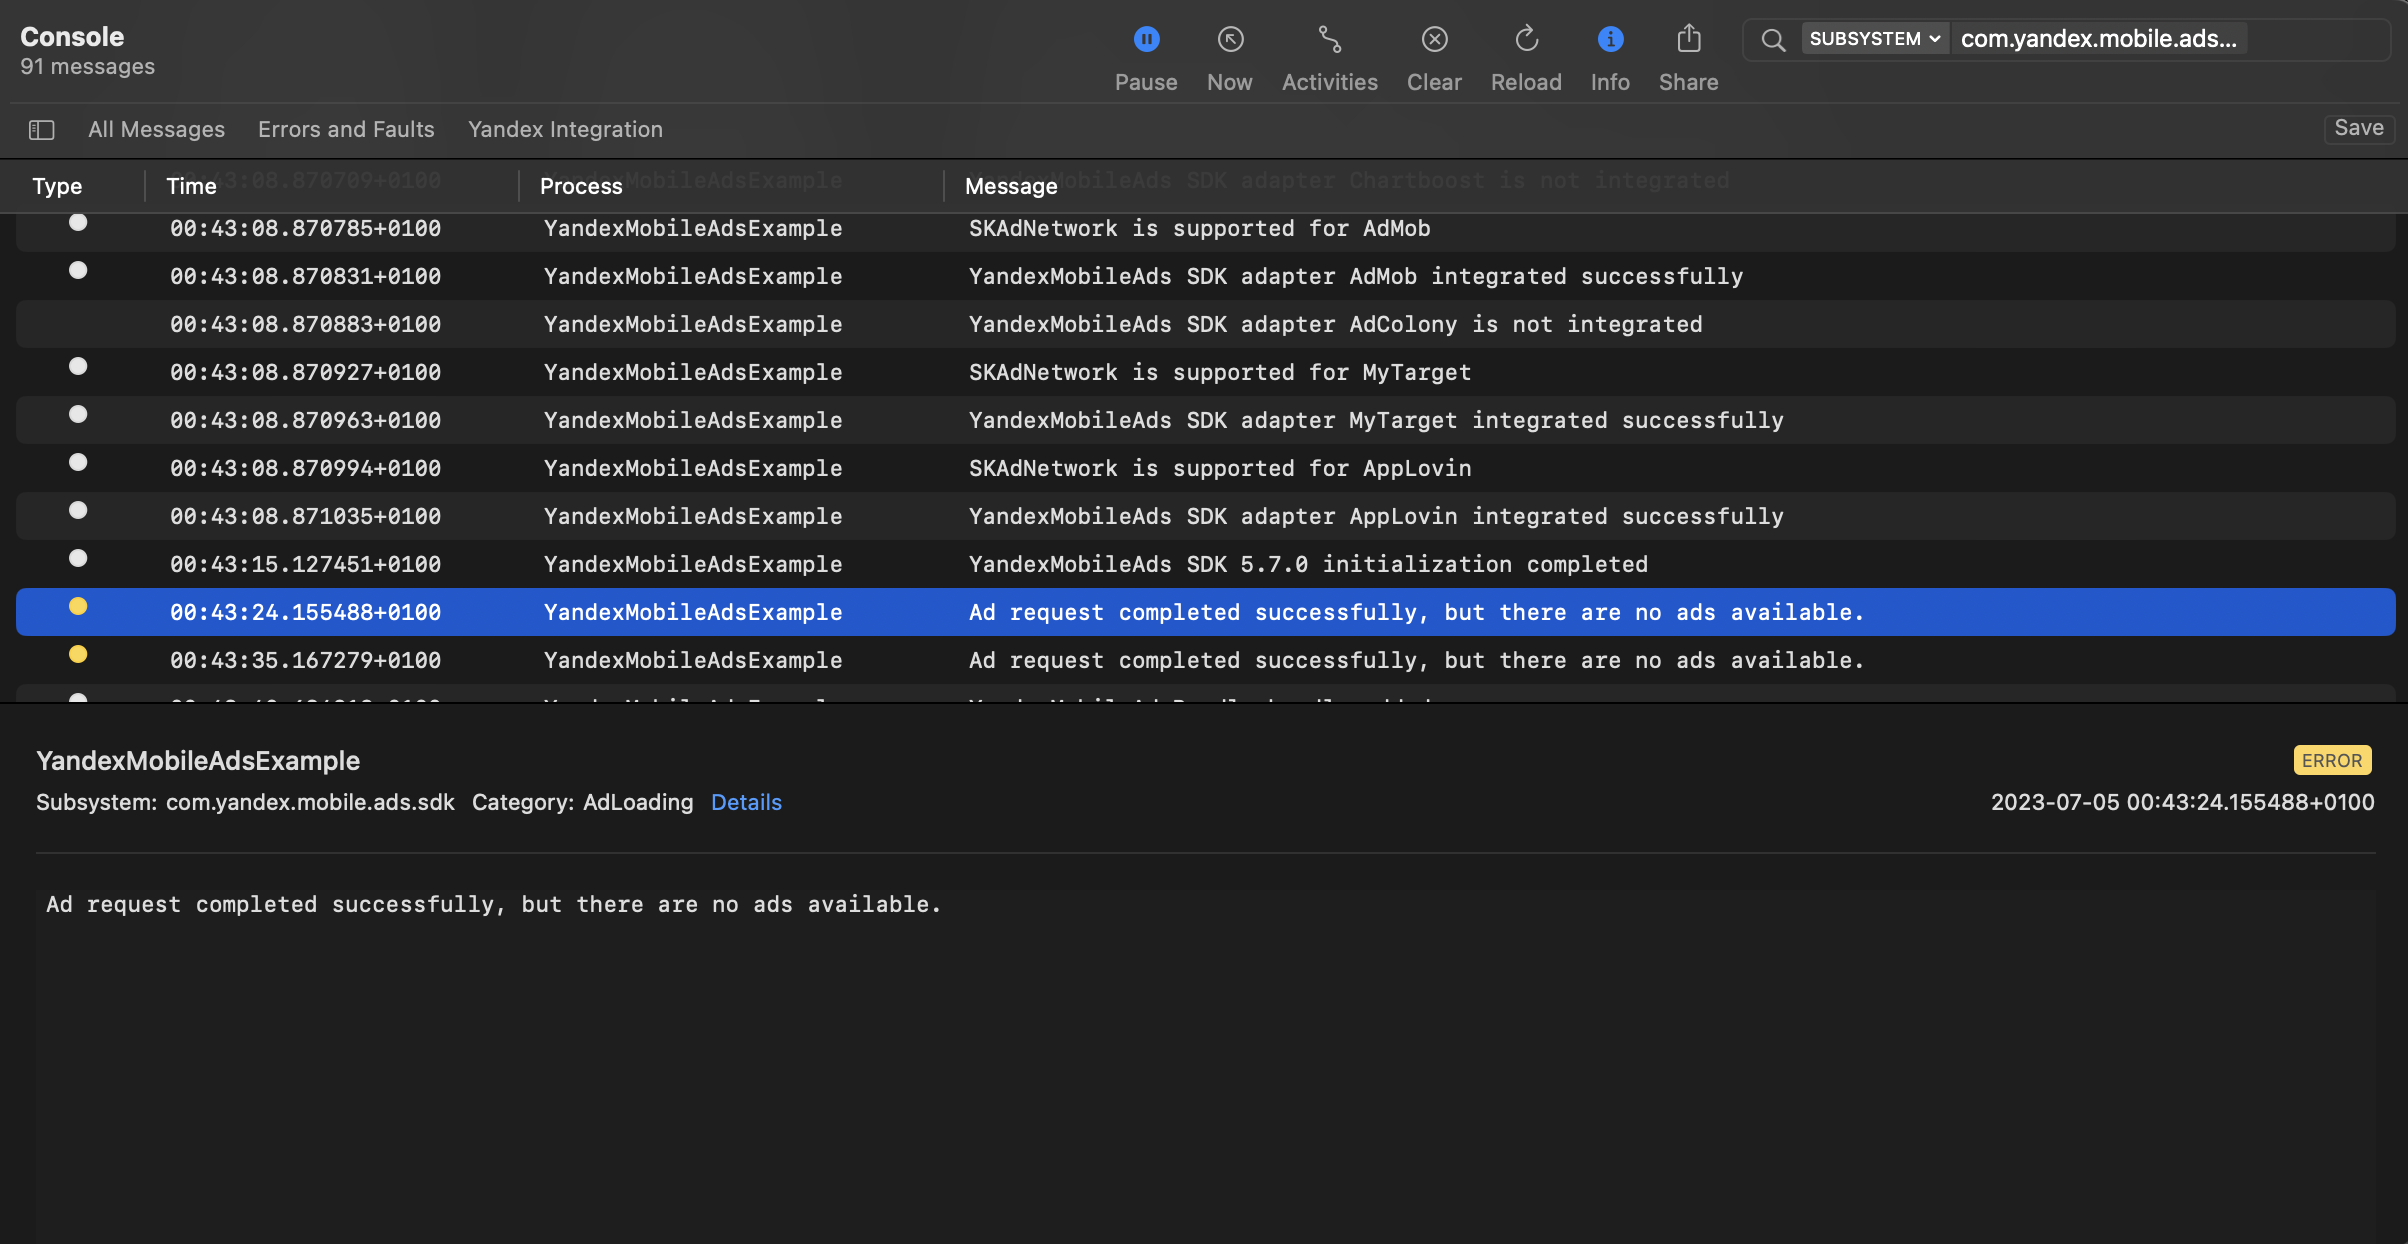
You can test your ad integration using the native Console tool.
To view detailed logs, call the YandexAds class's enableLogging method.
YandexAds.enableLogging()
To view SDK logs, go to the Console tool and set Subsystem = com.mobile.ads.ads.sdk. You can filter logs by category or error level.
If you're having problems integrating ads, you'll get a detailed report on the issues and recommendations for how to fix them.
Additional resources
- Link to GitHub.